
Plugins
Plugins allow you to enrich your site with new functionalities according to your needs: forum, blog, galleries etc...
They are available in the administration panel via the Features > Plugins section.
To activate a plugin, click on the "Install" button (or "Buy" if you have to pay for it).
Once activated, it will appear in the side menu of the administration panel and you will be able to configure it.
Contact forms
The forms on your site can be configured in the Features > Contact Forms section of the administration panel.
On this page you can find all your forms and add new ones.
When you receive new contact requests, your contacts and all their data can be found here.
You will also have a graph with the evolution of the number of contacts obtained via your website.
To create a new form, click on "Create a new form".
On the next page you can configure the options of your form:
General
- Name: enter a name to identify your form. It is not displayed to visitors.
- Recipient(s): Enter the e-mail addresses (separated by a comma) to which the form data should be sent.
- Subject: Text used for the subject of the email you will receive (e.g. Website contact form)
- Consent sentence : Phrase that visitors must approve when they fill in the form.
Confirmation
- Confirmation message: Message displayed after the form has been submitted
- Send a confirmation e-mail: Allows you to send an e-mail to your visitors to confirm that their request has been received
- Content of the confirmation e-mail: Message of your confirmation e-mail
Form fields
In this part, you can specify the fields of your form.
To add a field, click on it and then move the mouse over the field that appears on the left to see the edit buttons.
Click on the "Modify" button to change its properties: name displayed, default value, mandatory field, etc.
You can also change the order of the fields by dragging and dropping them.


Activity logs
Activity logs allow you to keep track of all the actions carried out on your site: as soon as you modify a page, activate an extension, delete a module, etc., this is recorded in the logs.
To consult the logs, access the administration panel and then go to the Security > Detailed logs section.
You will be able to consult each action with its date, the user concerned and the description of the action taken.
When an action is critical (e.g. a deletion), it is indicated in red.
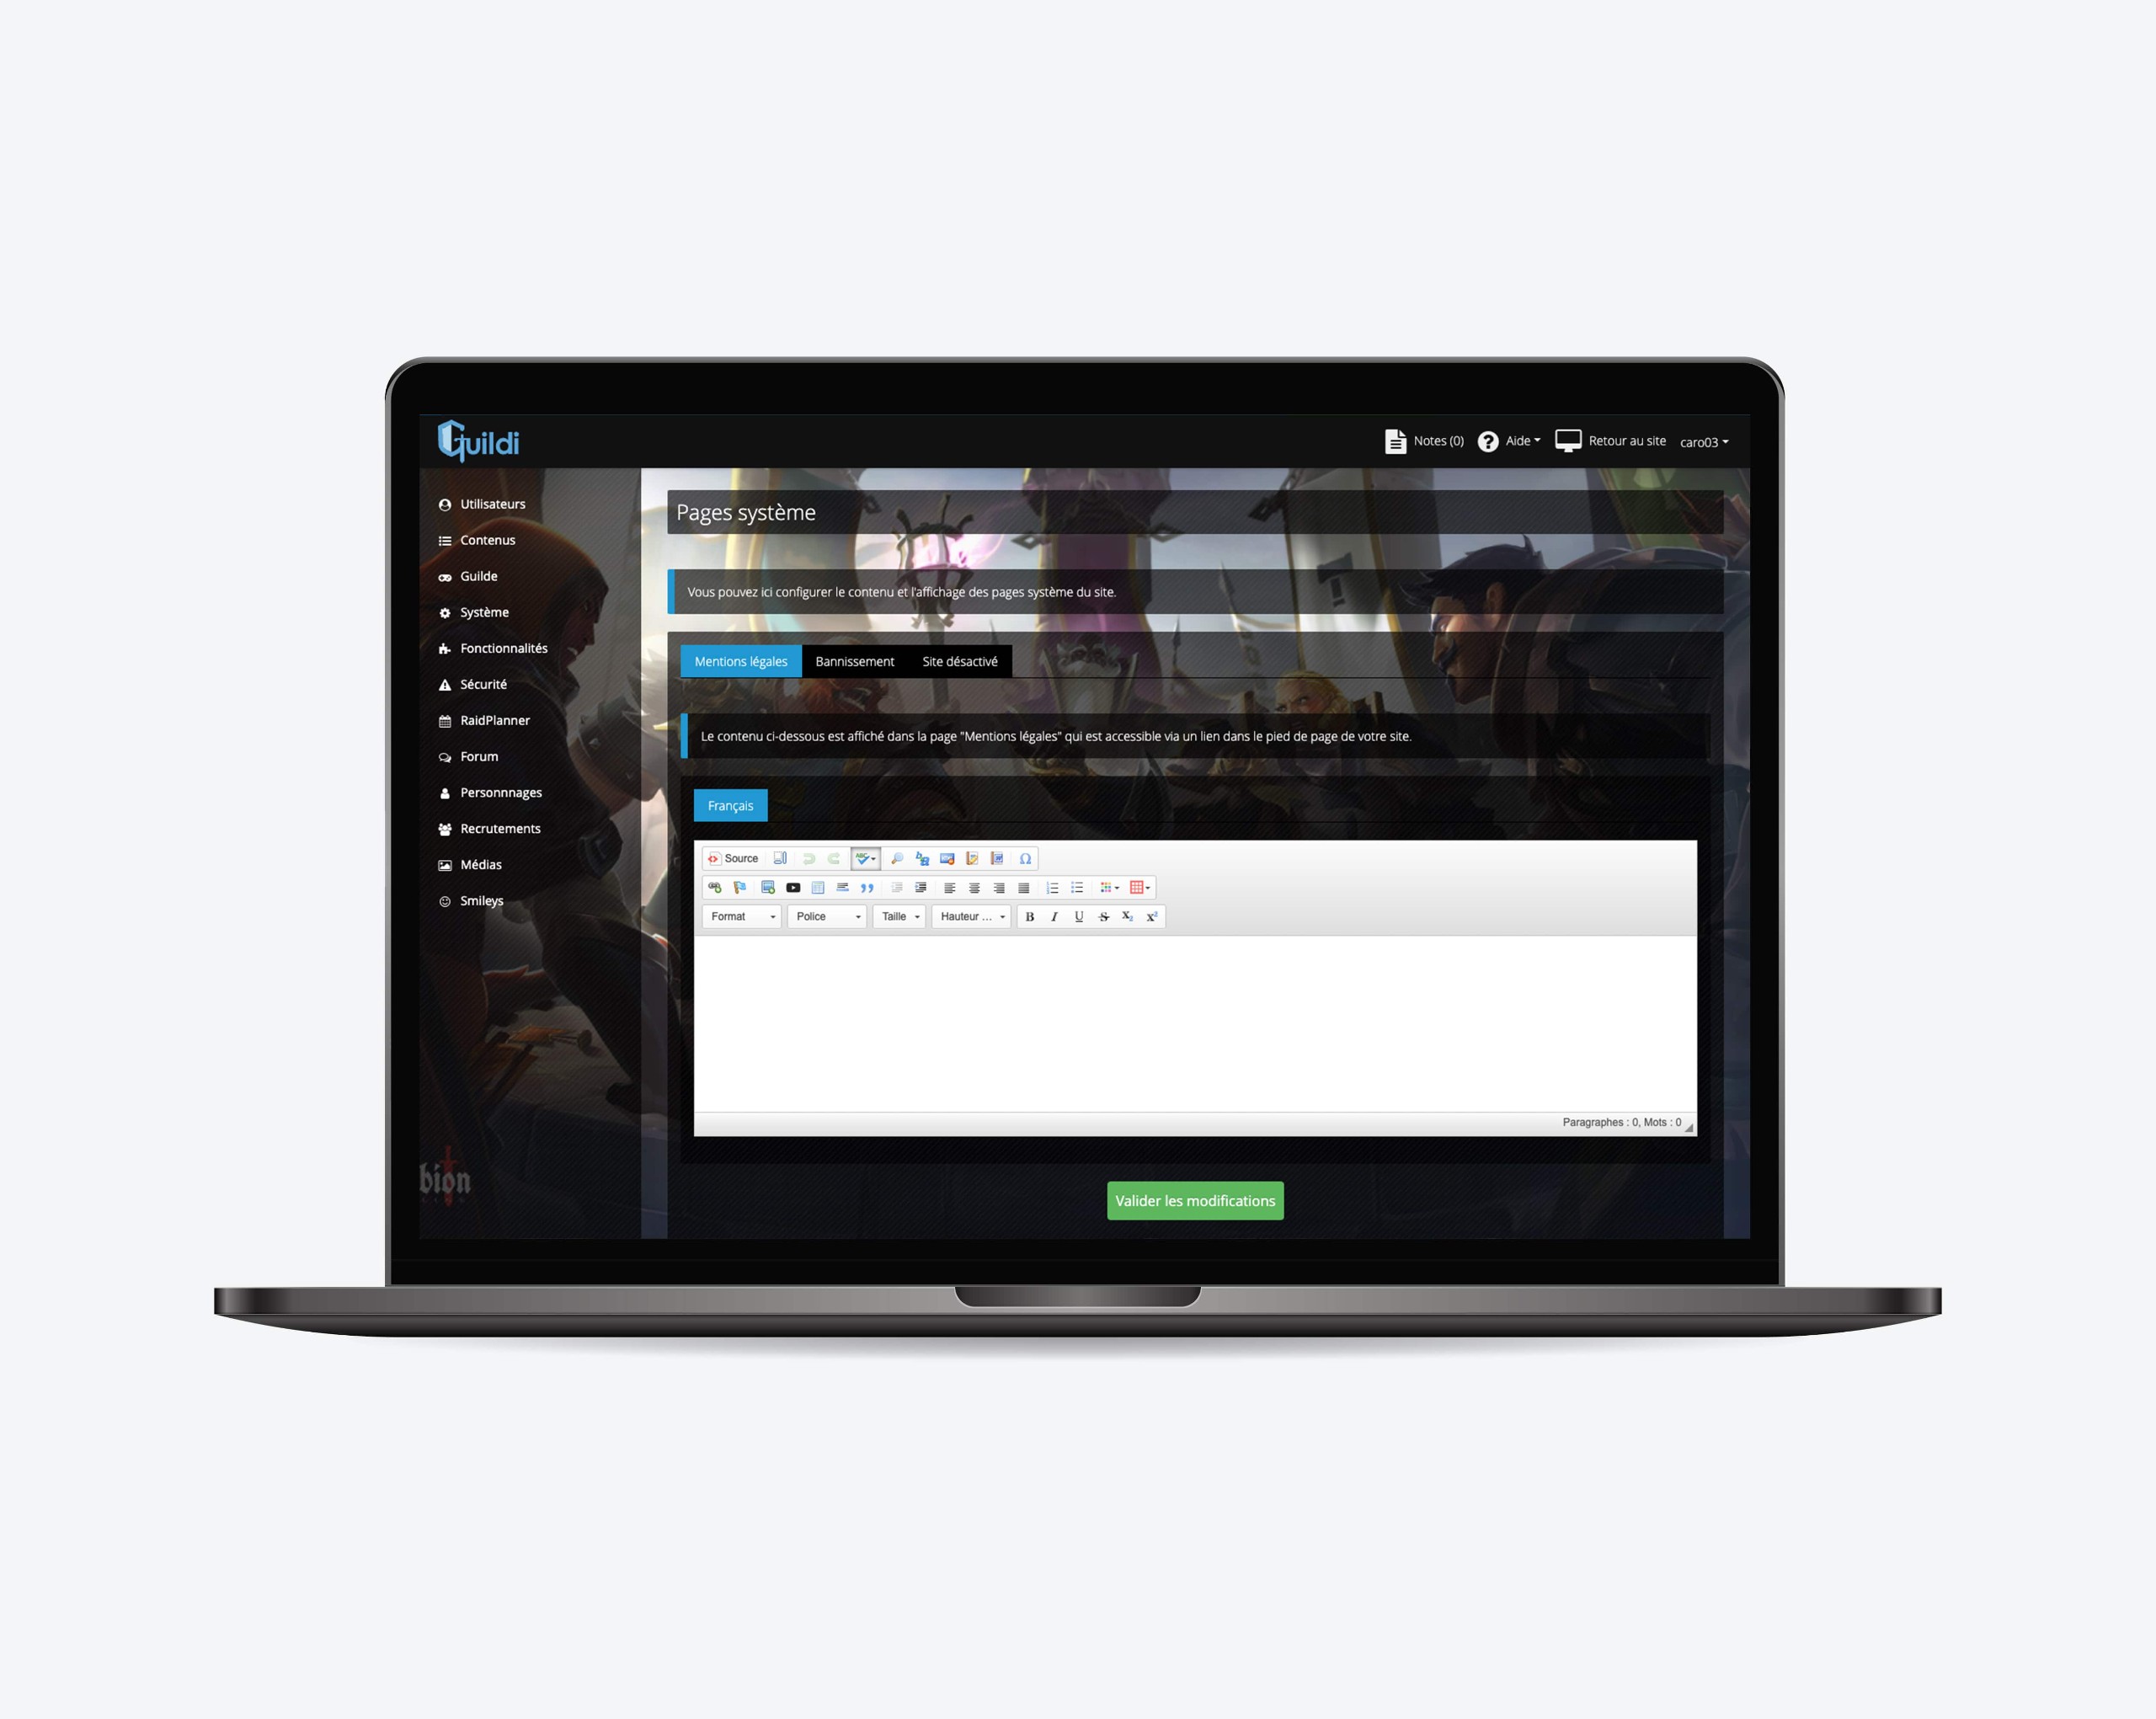
Legal information
In order to comply with current legislation, your website must contain certain mandatory information that you can include in the "Legal Notice" page.
Your site always contains this page, which can be accessed via a link in the footer and in which the information concerning the host (ourselves) appears by default.
If you wish to complete the information, you can do so via the administration panel of your site and then in the section Contents > System pages
You will find via the following link the mentions to be indicated according to your situation:
https://www.service-public.fr/professionnels-entreprises/vosdroits/F31228
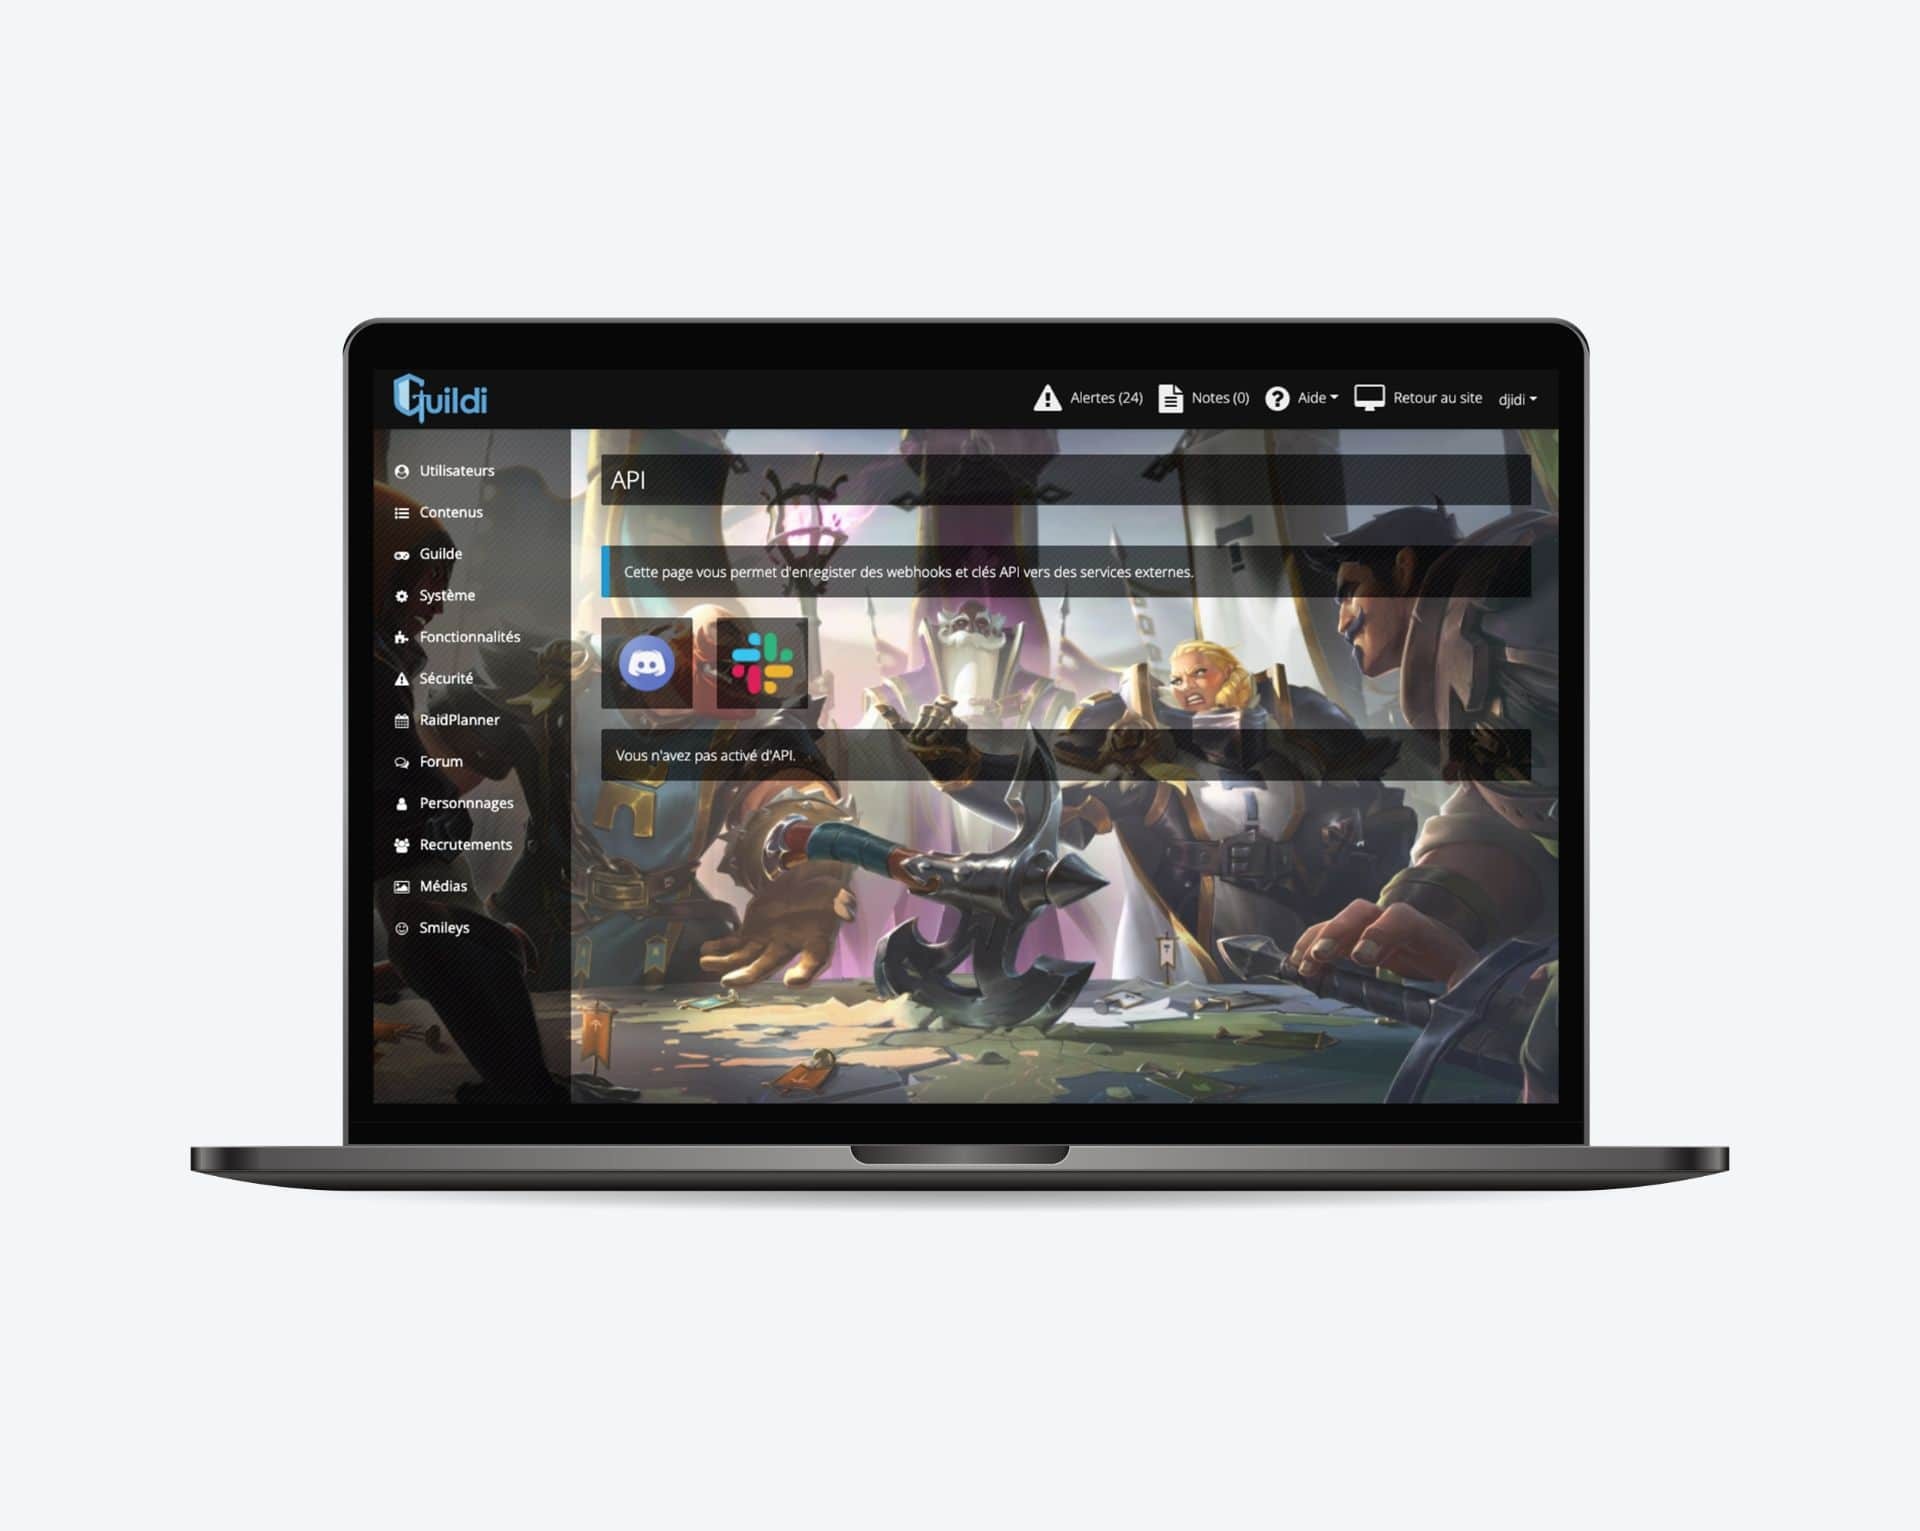
PLC links
With API bindings, you can enable notifications on services external to Guildi after an action on your guild site.
The services currently available are : Discord and Slack.
By enabling API bindings, you can have notifications on the following actions:
- Forum: New topic and new post
- RaidPlanner: New raid planned and information about members' participation
- Recruitments: New applications and status changes on applications
To see the active APIs and add new ones, go to the administration panel and then to"Features > API".
To add a new connection, click on the service logo (e.g. Discord) and enter the required information.
Where to find the login information
Discord
Go to Server Settings > Integrations > Webhooks.
Then click on "New webhook" and select the room where the notifications will be sent.
Finally, click on "Copy webhook URL" and add this URL to Guildi.
Slack
Go to the applications page and create a new application.
Then go to"Features > Incoming webhooks" and click on"Add new webhook to workspace".
Select the channel in which the notifications will be sent and validate.
Finally, click on "Copy" at the webhook URL and add this URL in Guildi.
Enable notifications
Forum
To enable an API binding on the forum, edit a forum and then select one or more APIs to enable in the "API binding" field.
You will receive a notification when a topic is created or a message is posted in that forum.
Recruitments
To enable API binding on recruitments, edit a recruitment form and then go to the 'Configuration' section and select one or more APIs to enable in the 'API binding' field.
You will receive a notification as soon as you receive a new application for this form and each time the status of the applications changes.
RaidPlanner
To enable API binding on raids, edit a RaidPlanner category and select one or more APIs to enable in the "API binding" field.
You will receive a notification as soon as a new raid is planned in this category and each time a user indicates his participation.